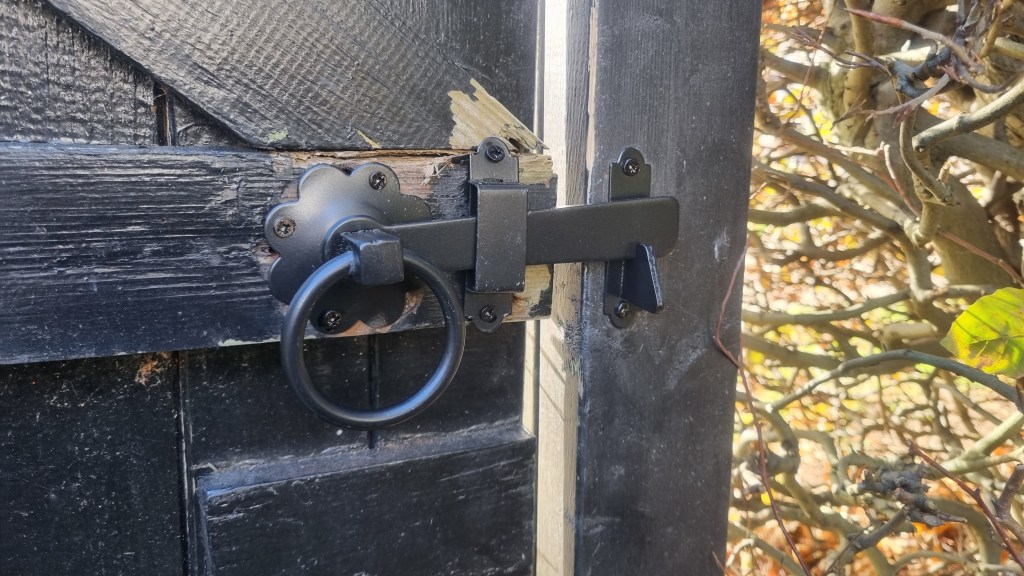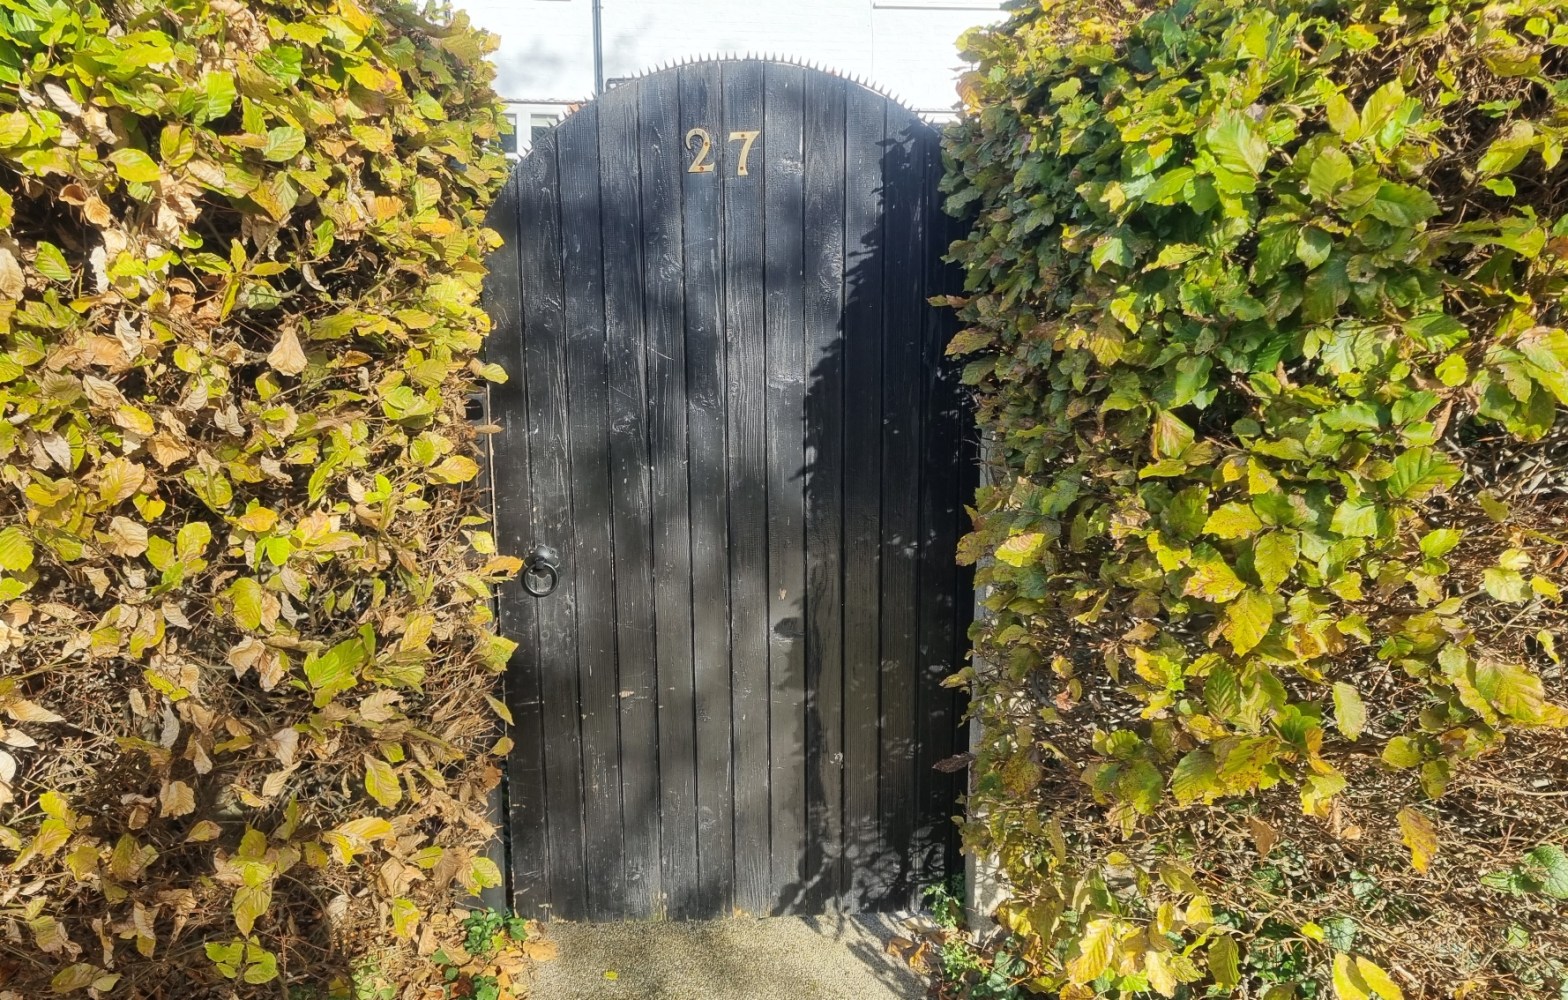
I very recent job in New Earswick, York. I spent over two days at the house and worked at several different projects. The first one was the main garden gate. The old gate definitely seen better days, but it was not in the budget at the moment to change the whole lot. The main problem with gate was that it was sagging and dragging on the floor. Without lifting you couldn’t close it. Another problem was that the lock didn’t work properly so I had to change that to a new one as well.
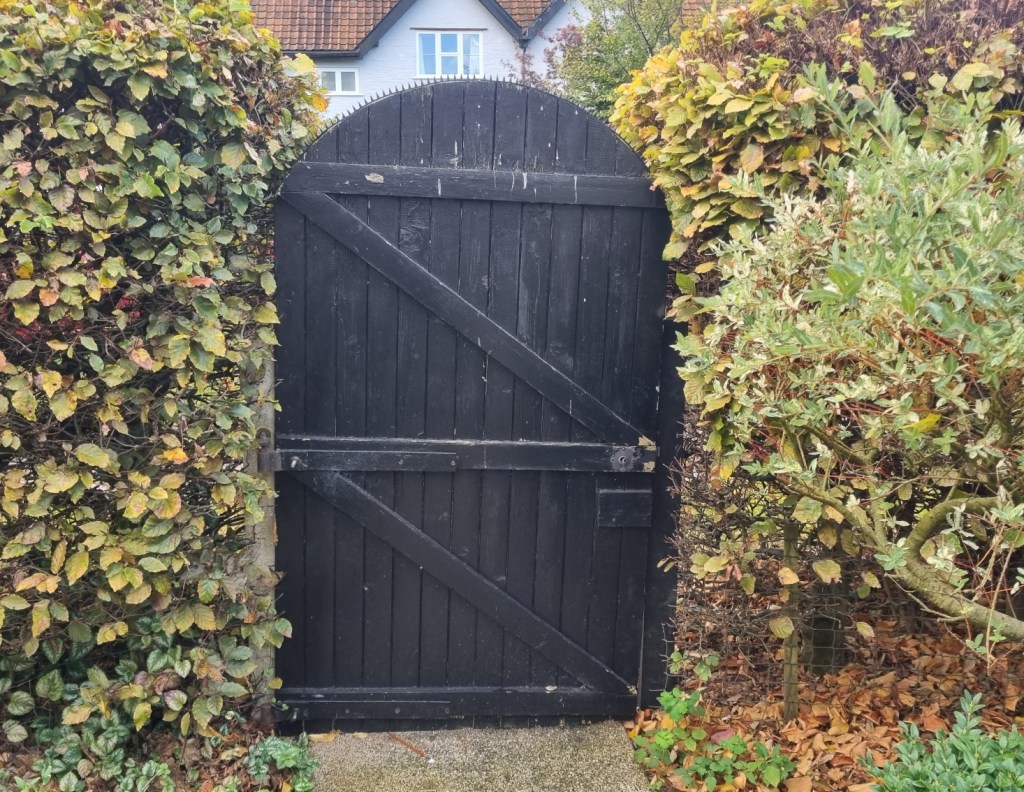
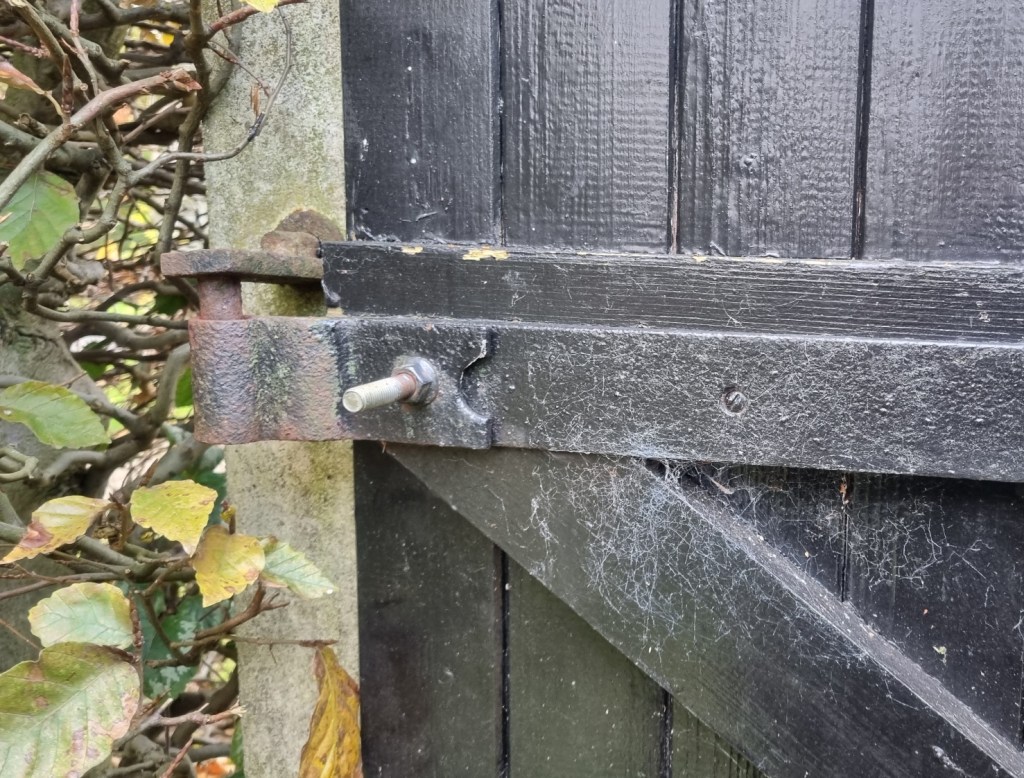
At first I thought that the gate is sagging and dragging because the concrete post moved a bit. The gate is a large and heavy one, but the concrete post was solid. The next suspect were the hinges. And that’s when I realised that the upper hinge is pointing downward, leaving all the weight of the gate to the single bottom hinge. When I looked at the bottom hinge I saw that unsurprisingly it was bent downwards. Thick steel hinge but I guess the years and the weight won the battle.
The plan of action was the following: take off both hinges (and the gate), swap upper and lower hinge, drill a new hole for the upper hinge, so it will point upwards as well. At this point I want to highlight that I understand why there was a hinge pointing up and one pointing down, so they can’t lift off the gate. But seriously. That gate is heavy. If someone that desperately want to get into the garden they won’t start with taking that large gate off. So now both hinges pointing upwards and I really mean it when I say, best of luck to anyone trying to take that gate off from the outside.
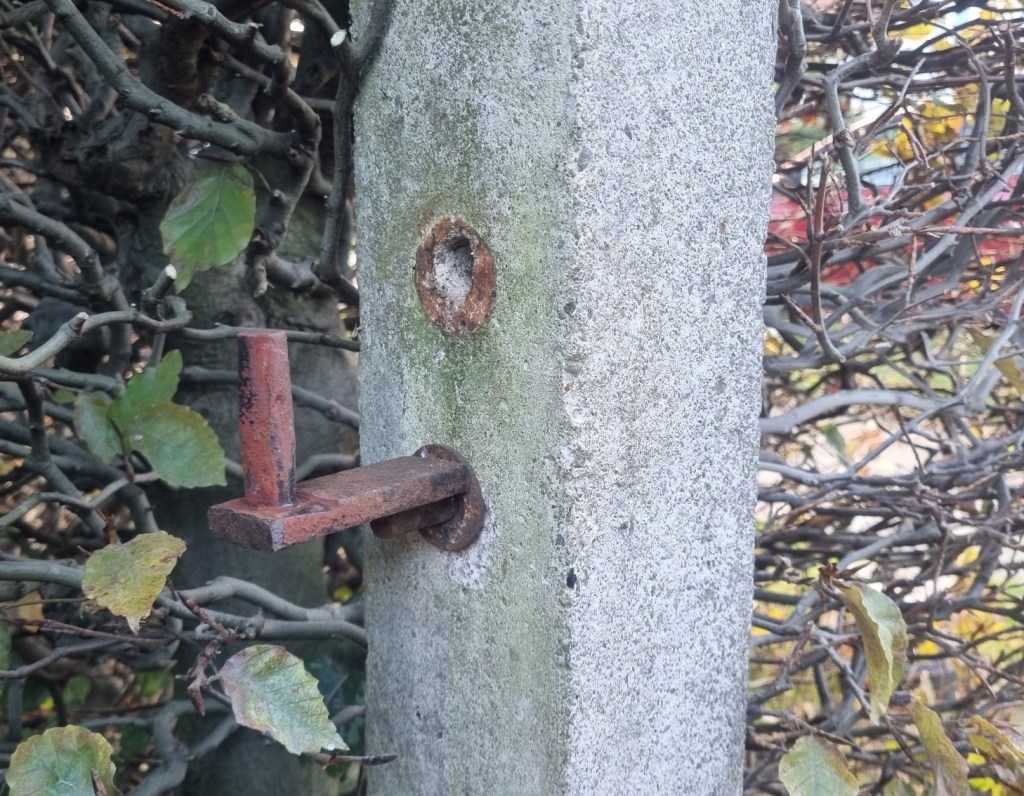
Taking the old hinges took some doing as the nuts were a bit rotten. But nothing that a bit of tapping and WD40 wouldn’t solve. Took me a solid 20 minutes, but eventually both hinges and the gate were free. After this I had a good check on the hinges. Looked like home-made hinges, steel plate welded over a threaded bar. The bottom one was quite bent due to the weight over the years. I tried to gently straighten it a bit, but it was too thick steel. Without a workshop and a vice I didn’t stand a chance. I cleaned off all the threaded bars, washers and nuts the best I could and it was time to put hinges back on. Bottom was easy, it went straight back on. The upper one needed a new hole. The old hinge pointed down and I couldn’t move the hinge on the gate, so if I wanted the upper hinge to point up as well, I needed a new hole in the steel reinforced concrete post. I measured up, marked the post and prayed for the drilling gods not to hit the steel bar or a pebble while drilling.
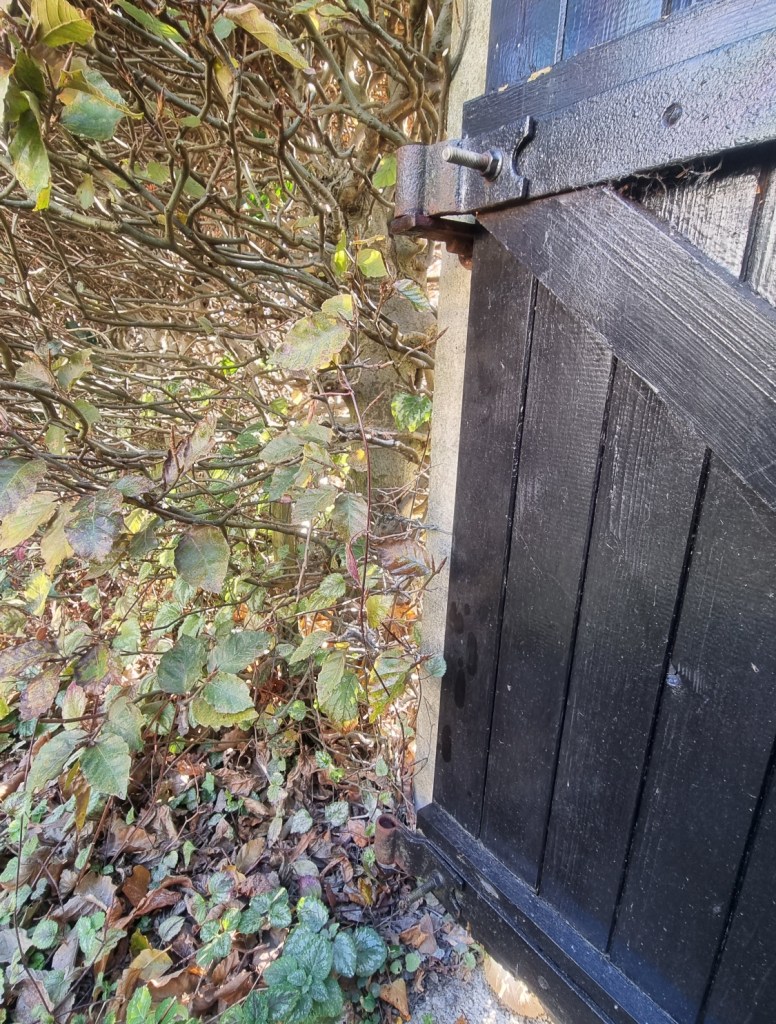
I only hit one tiny pebble so I consider myself lucky. This pebble throw off the drill a bit, which meant that the hole wasn’t perfectly straight so I had to re-drill the hole from the other side. This also meant that the hole became bigger than initially I wanted. I was prepared and I filled the space around the threaded bar with a bit of epoxi-resin. Once the hinges were finished, I lifted the gate back. I saw that the gate is not dragging any more and it is lining up between posts. The only issues was that the gate didn’t sit equally on each hinge. But we are talking about 3 millimetres of difference, nothing that a large steel washer wouldn’t fix.

Once the gate was sorted I greased the hinges and moved on to the lock. Luckily I could swap the lock over like for like so I didn’t have to spend a lot of time with that. I was well happy once the gate was finished. I was glad that I could repair the gate without changing the lot and the customer was satisfied with the work too.