
I finished this job not long ago in York town centre. The lady had damp problems with her open fire. Water was getting into the chimney through the top and made its way down to the fireplace. As the fireplace was non-stop wet, water started to make its way through the wall. And as soon as the render/plaster became wet, it started to fall off and crumble away. By the time I got involved, they sorted the main problem, the chimney top. They installed a chimney cowl, stopping the water getting in. My job was to repair the damp wall.
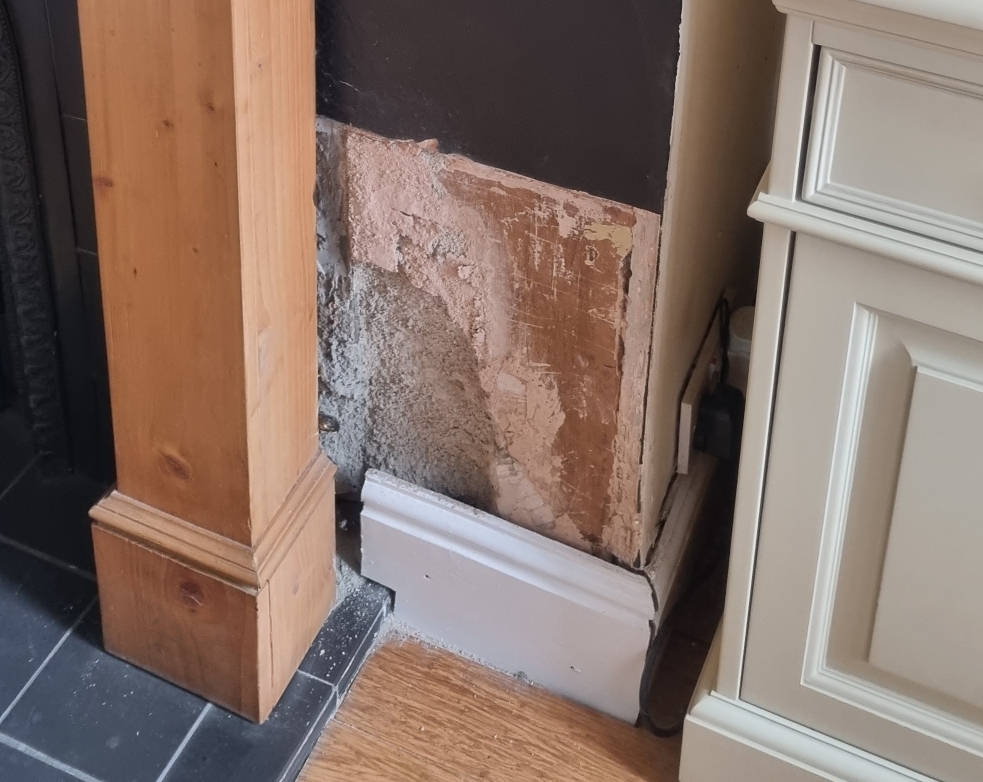
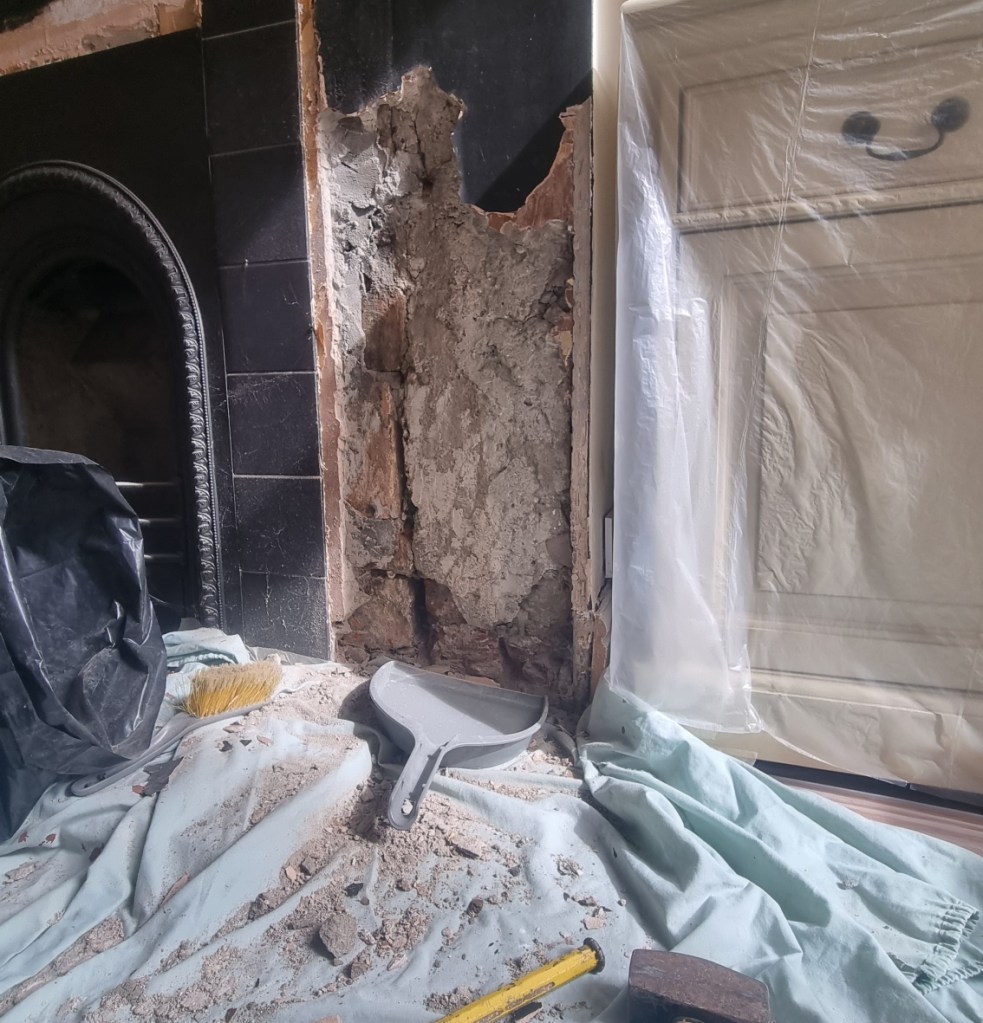
I knew this will be a dusty job so to start with, I covered nearly everything with plastic sheets in the room and because I knew the floor will be the worst, I put down an extra dustsheet over the plastic. After this, I removed the timber mantelpiece and put it aside. Luckily only one side of the chimney breast needed to be repaired, the other side felt dry and solid. On the damaged side, I started to remove every old layer of plaster and render until I reached the brickwork. I took off all the render up to a meter height from the fireplace to the edge of chimney breast. Once the noisy bit was over, I dusted off the wall to make sure I got all the loose bits before I would put PVA on the wall. Dusting off, cleaning up, diluting some PVA and painted the wall with it. We needed this PVA coat to make sure the surface is clean, no dust or loose bits are around and the new layer of bonding and top coat plaster will stick to it.
While I was waiting for the wall to dry a bit, I mixed some plaster bonding coat. I checked the wall and when it felt dry but tacky, I started to put the bonding on. Once the material was on I made sure it’s smooth and it’s the right depth. We nearly needed to reach the original depth of render but leave a few millimetres for the top coat plater as well. Once I finished with the bonding, I packed up and left the chimney breast to dry overnight. I used fast setting bonding and the packet said it can be plastered over within a few hours, but I’m not a pro. So to be on the safe side, I left it to dry for the night and I was sure it will be ready to be plastered on the following day.
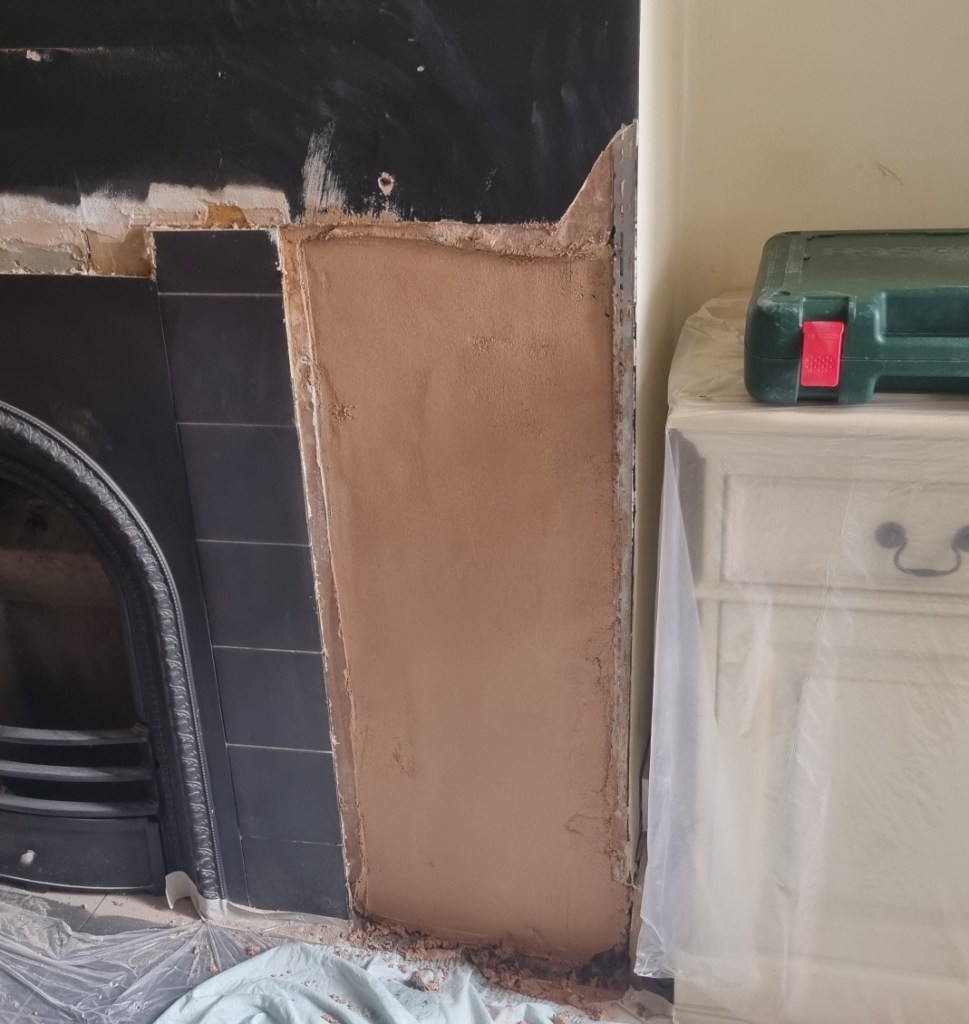
Next day, I checked whether the wall was dry enough (plot twist: it was) and started to prepare the wall for the top coat. I used my scraper to take off any excess or lumps around the edges. After this I mixed up some top coat plaster and before I would apply it on the wall, I sprayed the surface with a bit of water. I used two coats, first is to make it level all around, second, thinner coat is to make sure it’s nice and smooth. As I said before, I am no plasterer, I only know the basics, I mainly do repairs and I wouldn’t even try to plaster a whole room on my own. So if a plasterer is reading this and already pulling out all his hair, I’m sorry, I might not do everything by the books, but the work at the end was level, smooth and didn’t crack or fallen off ever since 🙂
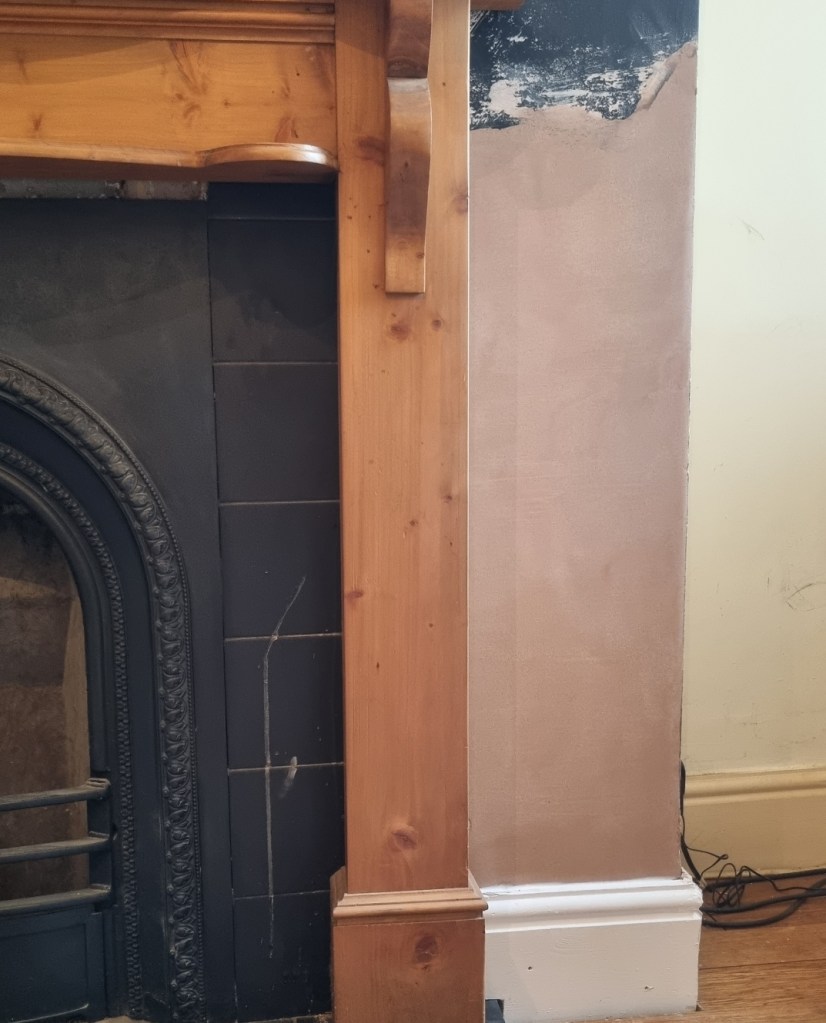
Once the second coat was on and I deemed the job finished, I used a wet sponge to take off any splashes from the rest of the wall. While I was waiting for the wall to be touch dry, I washed and tidied my tools away and cleared up the room (again). When the wall was dry enough, I refitted the mantelpiece (I could just use original holes and wall plugs) and I declared the job done. Customer was happy, handyman was happy and I was on to the next job.
