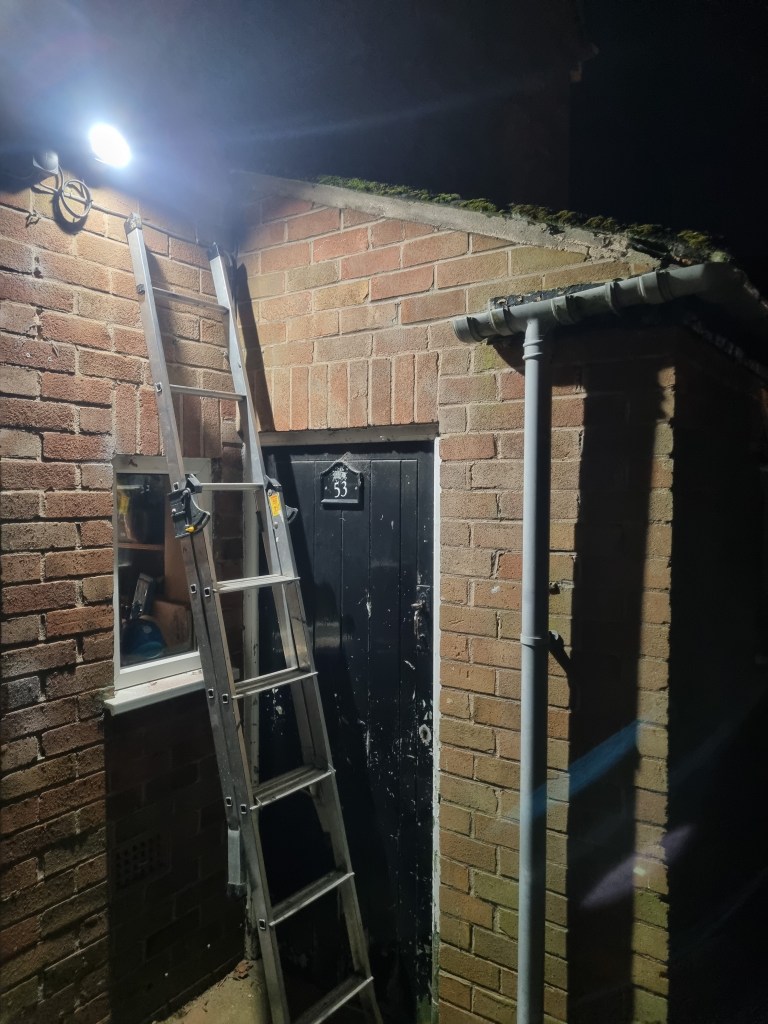
At home we had an old motion sensor floodlight above the shed door, which was a great help any time I had to get some of my tools out very early in the morning or very late in the evening. But as it was an old halogen unit, it was expected that sooner or later that halogen bulb will go out. And I hate changing halogen bulbs in flood lights or work lights because I always end up using at least two sometimes three lightbulbs to replace one, as I always touch it accidentally. And once you touched it, it will blow again either straight away or within minutes.
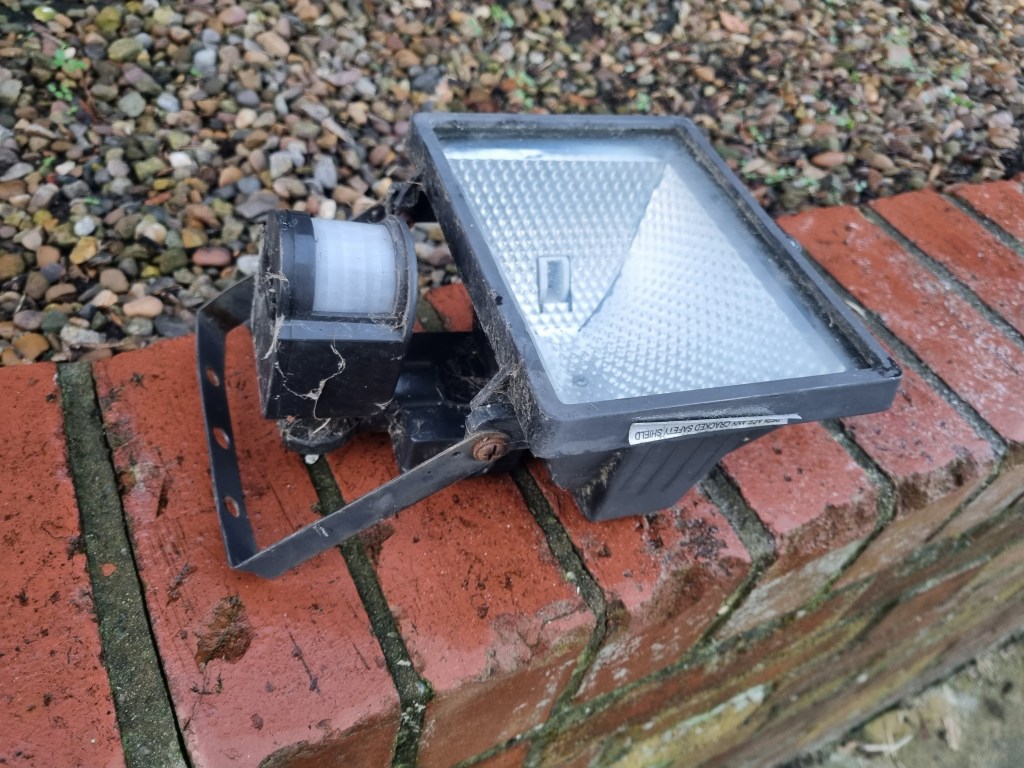
So when our flood light was out, I decided to swap/upgrade it for an LED unit. Our previous light had about 2000 lumens of light and took 120 Watts in an hour. Which is quite a lot really. Plus it was a bit too bright for the small corner we needed to light up. So, I changed it to a 1000 lumens LED unit which only takes 10 Watts per hour. That’s a huuuuge difference in in power consumption. Especially that the old unit had a super sensitive motion sensor, which meant that every few minutes the light came on. There was a sensor adjustment on the light but it didn’t make any difference. So on a windy autumn evening/night the light was literally non-stop on. With the new LED floodlight I hoped that I will have better control over the sensor and that I can reduce the power consumption as well.
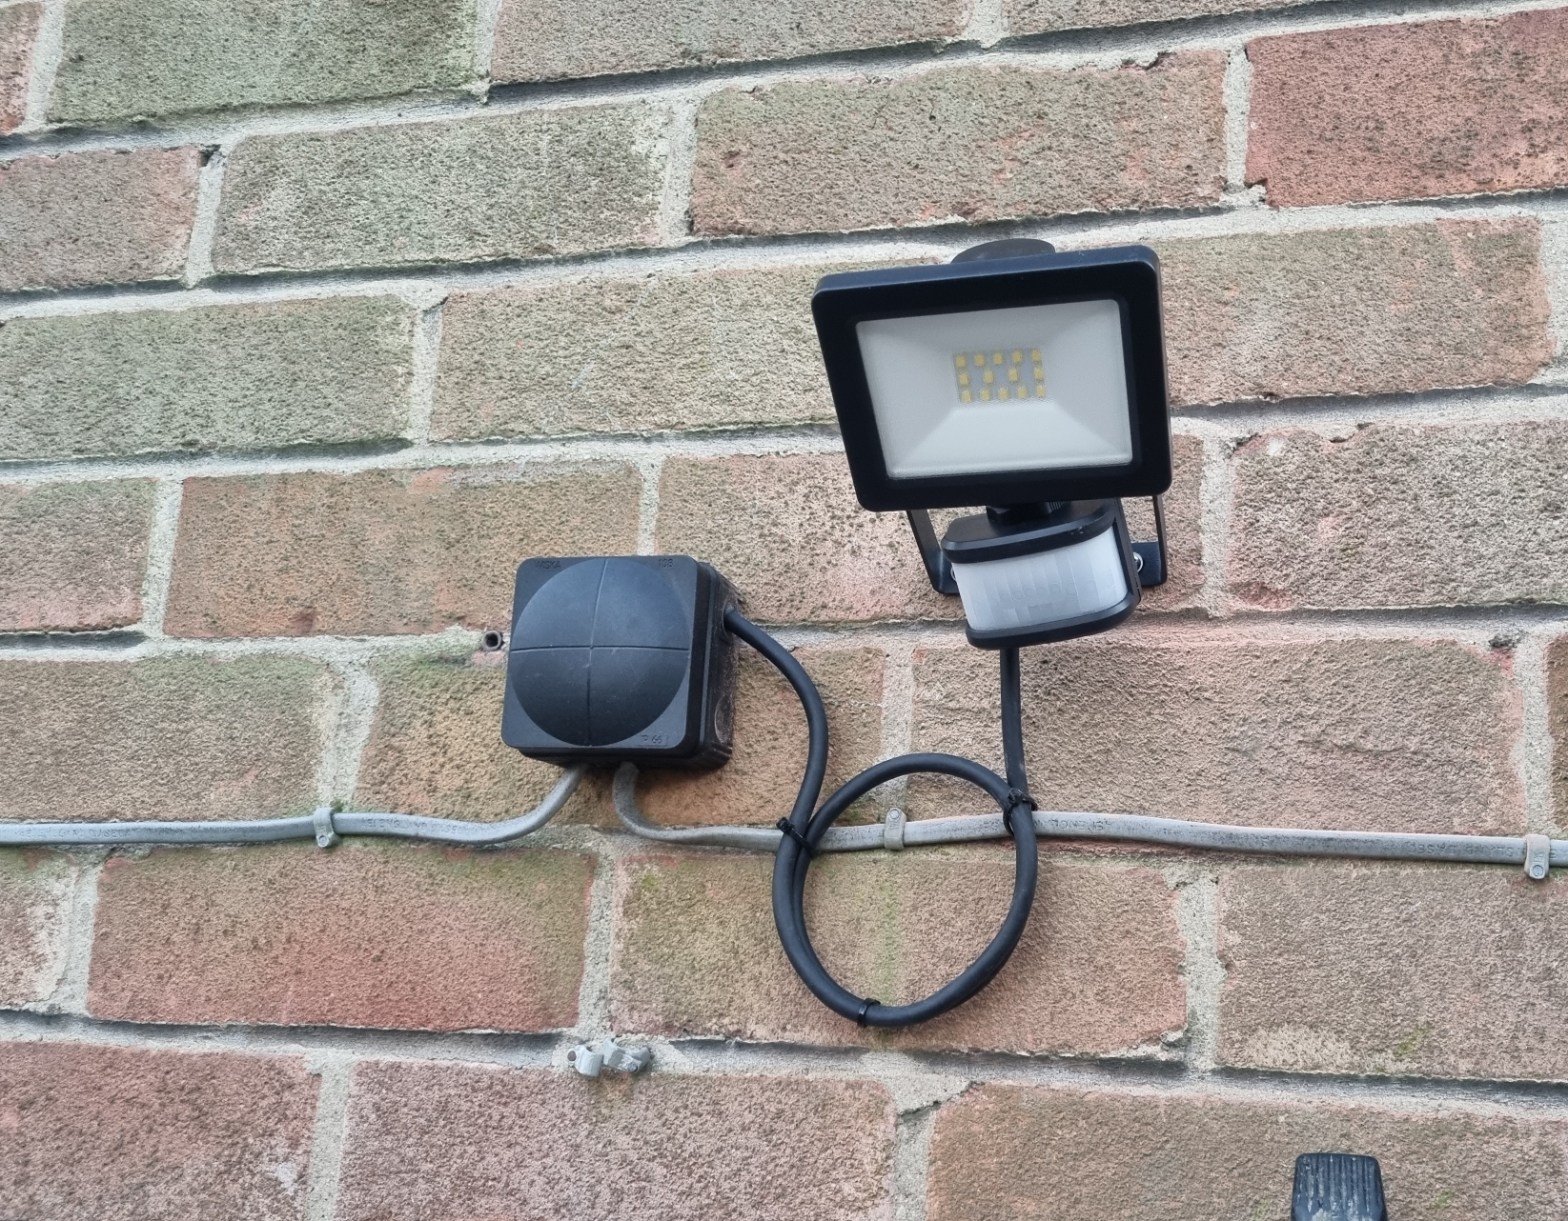
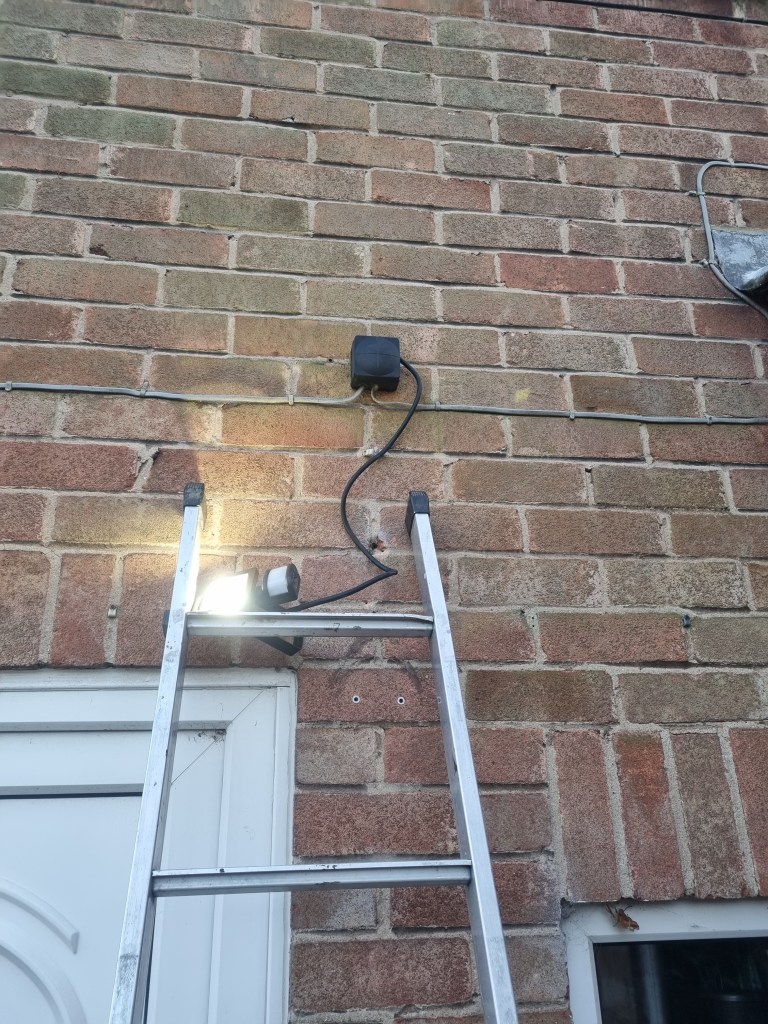
The installation was relatively straight forward. The old flood light was wired into a spur going towards the outside sockets. The light’s housing acted as a weatherproof junction box. Now, the new light had to be wired differently, as the housing cannot be taken apart without using force. So I had to install first an outdoor junction box with the spur cables and the light fitting’s cable in it. I would like to say at this point that this was an installation at my home, as I am not a qualified electrician I normally don’t do work like this for clients. So if you have to do electrical work, I would recommend to call out an electrician. I also switched off all the power in the house to make sure it is safe to carry out the wiring work. But back to the installation part. Wiring the junction box was the trickiest bit by far. As I am not an electrician I didn’t have a lot experience how to wire small boxes with lots of cables in them so it’s safe to say it was a bit of a struggle. But I managed and now I had all the cables in their places. I turned back on the power to test out that light works. I covered the light sensor with my hand and voila, let there be light. I was happy and also relieved that I didn’t mess up anything with the wires. Now I only had to fix the floodlight to the wall and tidy up the slack of the wire coming out from the floodlight. I was thinking to shorten the cable at first but if I cut the cable and the light goes out within a day or two, I probably won’t be able to return it at the shop. So I just tidied up the excess cable and tied it to the wall. As for the fittings, it was dead easy. Two little holes, plugs, screws, bing-bang-bumm all done in a few minutes.
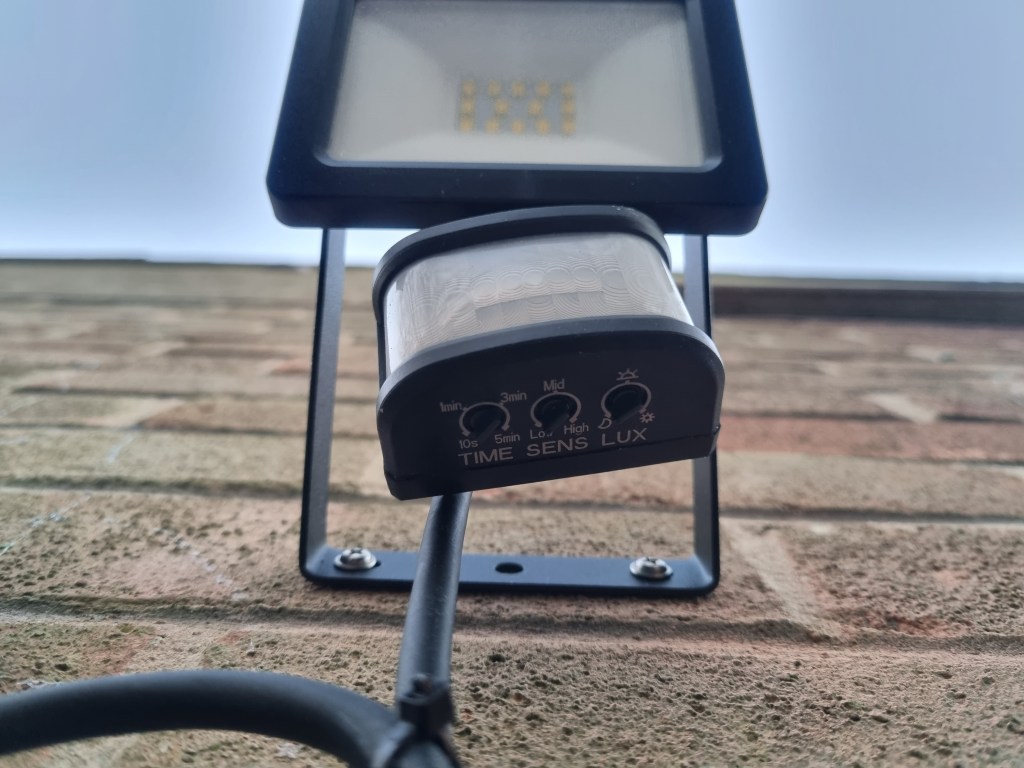
To finish off the work, I had to set up where to light had to point, which way the motion sensor had to face and play with the control dials: how sensitive the motion sensor and light sensor to be, how long the light should stay…etc. All in all I was done a little over an hour. I was a happy chap, but not because I could fit a light on an outside wall, but mainly because I managed to do the wiring without a hiccup.