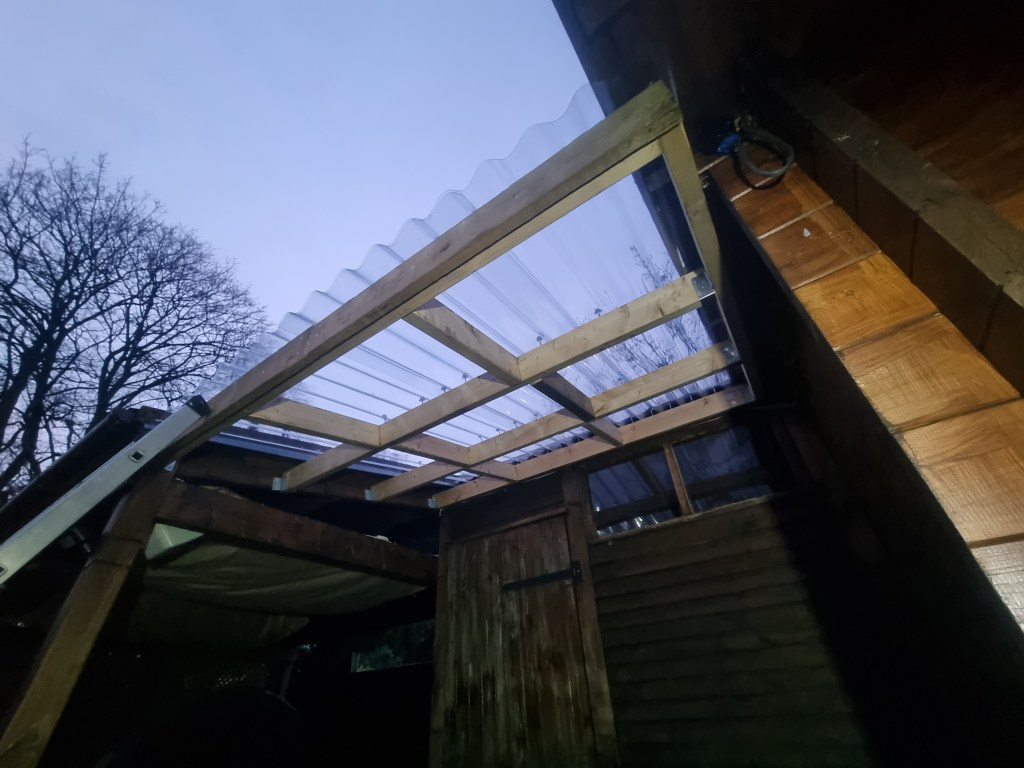
It was a very recent job I finished in Acomb. The customer had two sheds which were joined together with another smaller shed which was set up as an outdoor bathroom. This bathroom shed is only half the width of the other two. The idea was that we build a wooden frame between the larger sheds and a polycarbonate roof with guttering. It sounds complicated, but just have a look at the photos and you’ll see what I meant.

I started with measuring and working out the dimensions and angles. That took me a while as the two shed roofs were not the same size and had different pitches. Once I had a plan I started to build the frame for the roof. I started with the sides, back and the front. I had to make sure the length of the side of the frame is matching and their pitch is the same as well. For the front I had to make sure that there is enough space for the new guttering and that it won’t be on the way for the other two existing bit of guttering on the larger sheds. So all in all, a lot of planning and measuring.
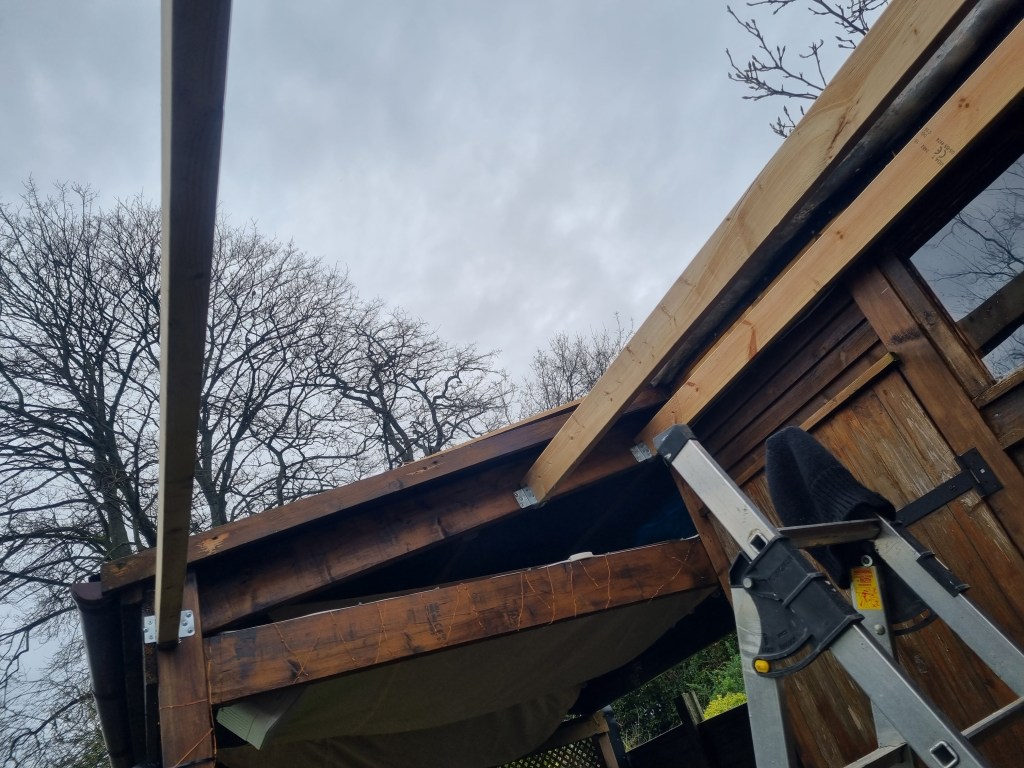
Once I finished with the frame I started on the joists and spacers. I used small joist hangers to hang them in between the side frame. All this doesn’t sound that much, but it took me the better half of the day to ensure everything is square and level. After this I could start on installing the polycarbonate sheets. I had to measure quite a lot again to make sure the overhang at the end of the roof is the right size for the guttering. Not enough overhang and the rainwater will just run off from the roof and miss the gutter, too much overhang and the water will pour out and over the gutter. To fix these sheets I used special stainless screws with silicone caps so the rainwater won’t come through the fixings. To be on the safe side, I used a bit of clear silicone as well under these fittings to ensure they are indeed watertight.

At the top of the roof I used the existing lead sheet which acted as a ridge. I gently folded and pushed with hand and I used my lead dresser as well to shape the lead over the polycarbonate sheets. It would have been maybe better to use a completely new sheet of lead for this purpose, but it would add quite a large some for the project’s budget so I had to make good of the existing one. I had to make sure that water won’t come through on the side of the roof either where the new sheets meet the old shed roofs. I built the frame, so the new sheets are going under the old roof at least 100 mm either side so the rain won’t come in there either.
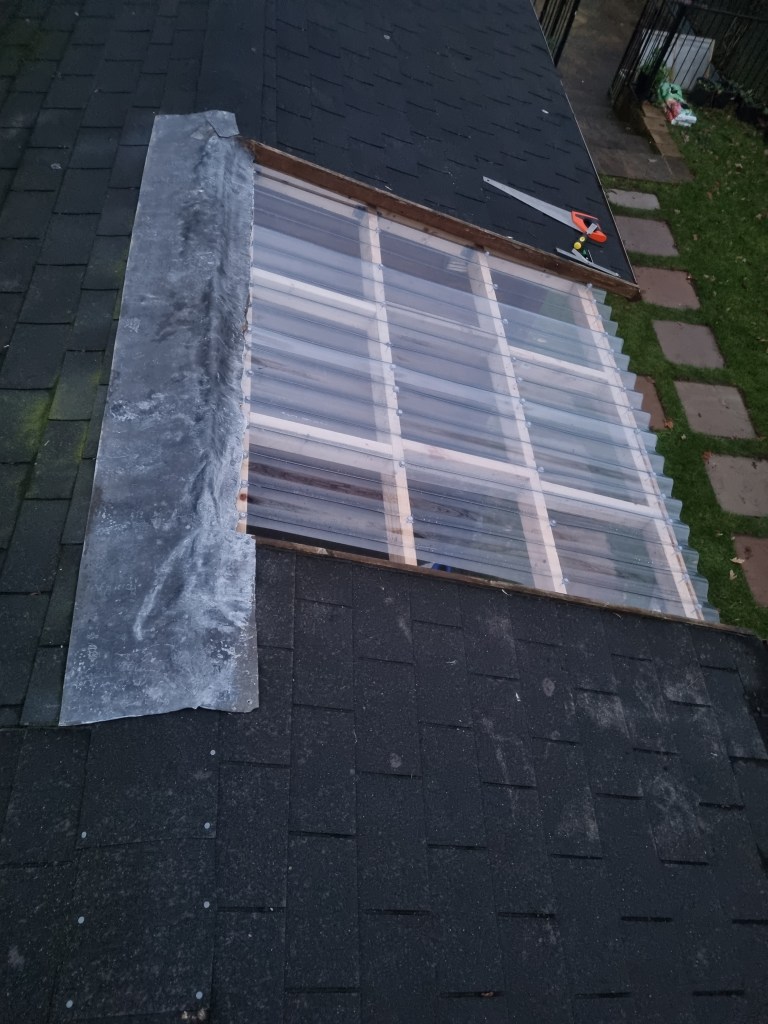
As a last step I had to install the guttering. The customer is opted for brown mini guttering to match the existing rain-water system. This last step was really just a breeze. I finished this project just a bit over a day and the customer was really happy with the end result.