I do quite a lot of curtain and blind fitting, but so far I didn’t have a blog post about this kind of a job for some reason. So here we go and while I worked on this post, I decided that we can turn this into a “how to” post, so you can follow the steps and give it a go yourself. No rush, take your time and if it doesn’t want to work for some reason, take a step back, deep breath and start again.
Tools: for both type of window covers you will need the same tools. The basic ones: screw driver (crosshead), hammer (but you will find that sooner or later all tools can be a hammer), tape measure, pencils and eraser (for marking on the wall), spirit levels (preferably a long one) and steps or chair to step on to work comfortably. The last two items are a bit more specific: a drill and backup fittings.
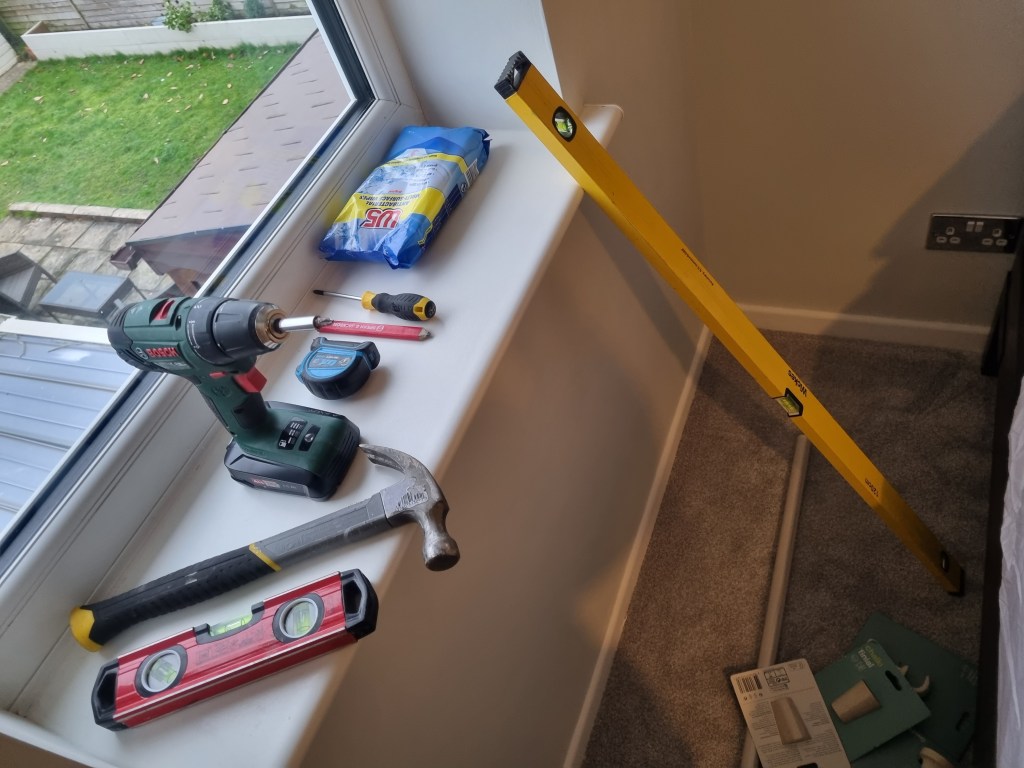
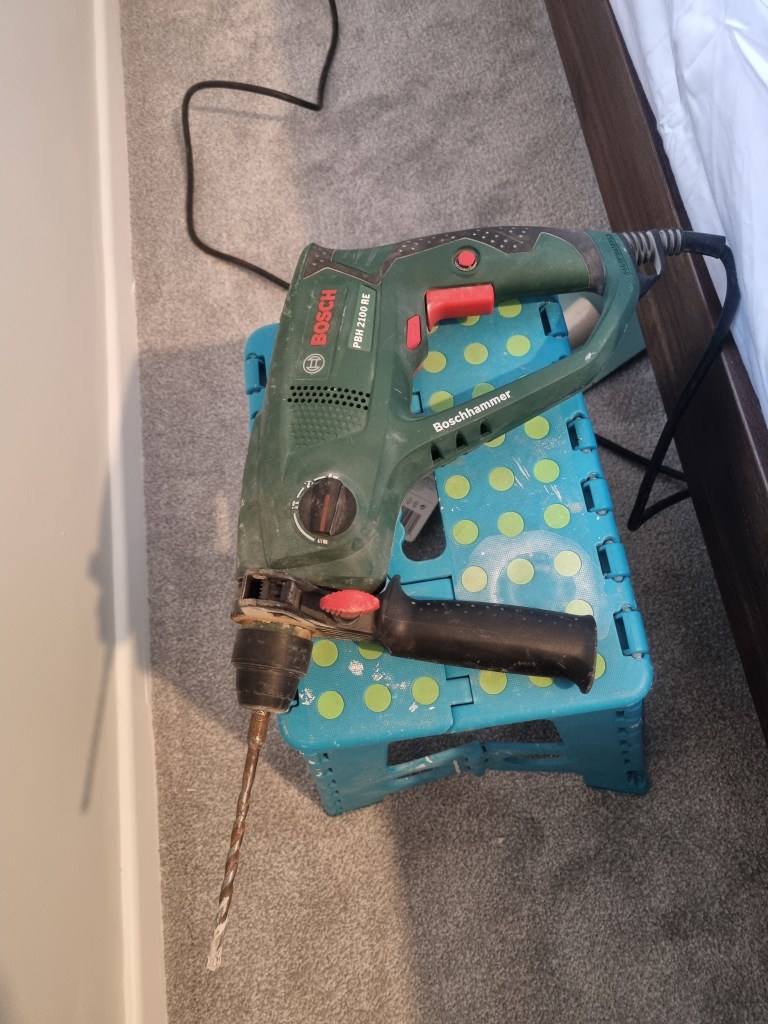
Drill: there are a ton of different drills available on the market for various applications. What you need is a something with enough power to drill into masonry. There are strong enough battery powered drills out there as well, but they will cost you a lot and they are nowhere near as powerful as a cheaper corded drill. For example a Bosch Professional battery combi drill costing £250 at Screwfix has 3200 Bpm (blows per minute) which means in one minute it can make 3200 tiny blows on a masonry/concrete surface as you drill. While a DIY graded Bosch corded drill does 5800 blows per minute and only costs £75 at B&Q. For drilling into the wall you need the corded one. But for other uses the battery drill is superior over the corded one. What I want to say is that before you buy something, ask in the shop, think what purpose you need the drill for and chose one accordingly.
Backup fittings: all the blinds and curtain poles are coming with screws and wall plugs. The only problem is that sometimes they are so poor quality, that you can bin them straight away. That’s why you need a few spare plugs and screws in your toolbox. Also you might want to have different type of fittings as well. Sometimes you find that it’s not solid wall where you have to drill into but plasterboard. In this case you need plasterboard fittings to make sure the curtain poles will stay up and will hold the weight of the curtains.
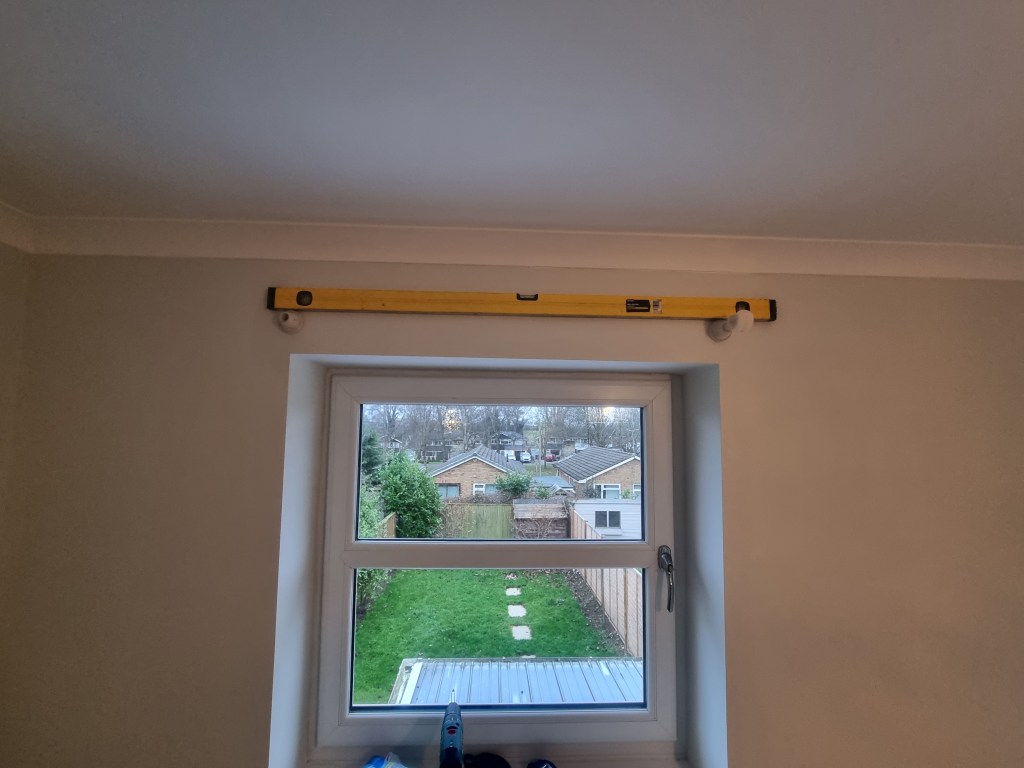
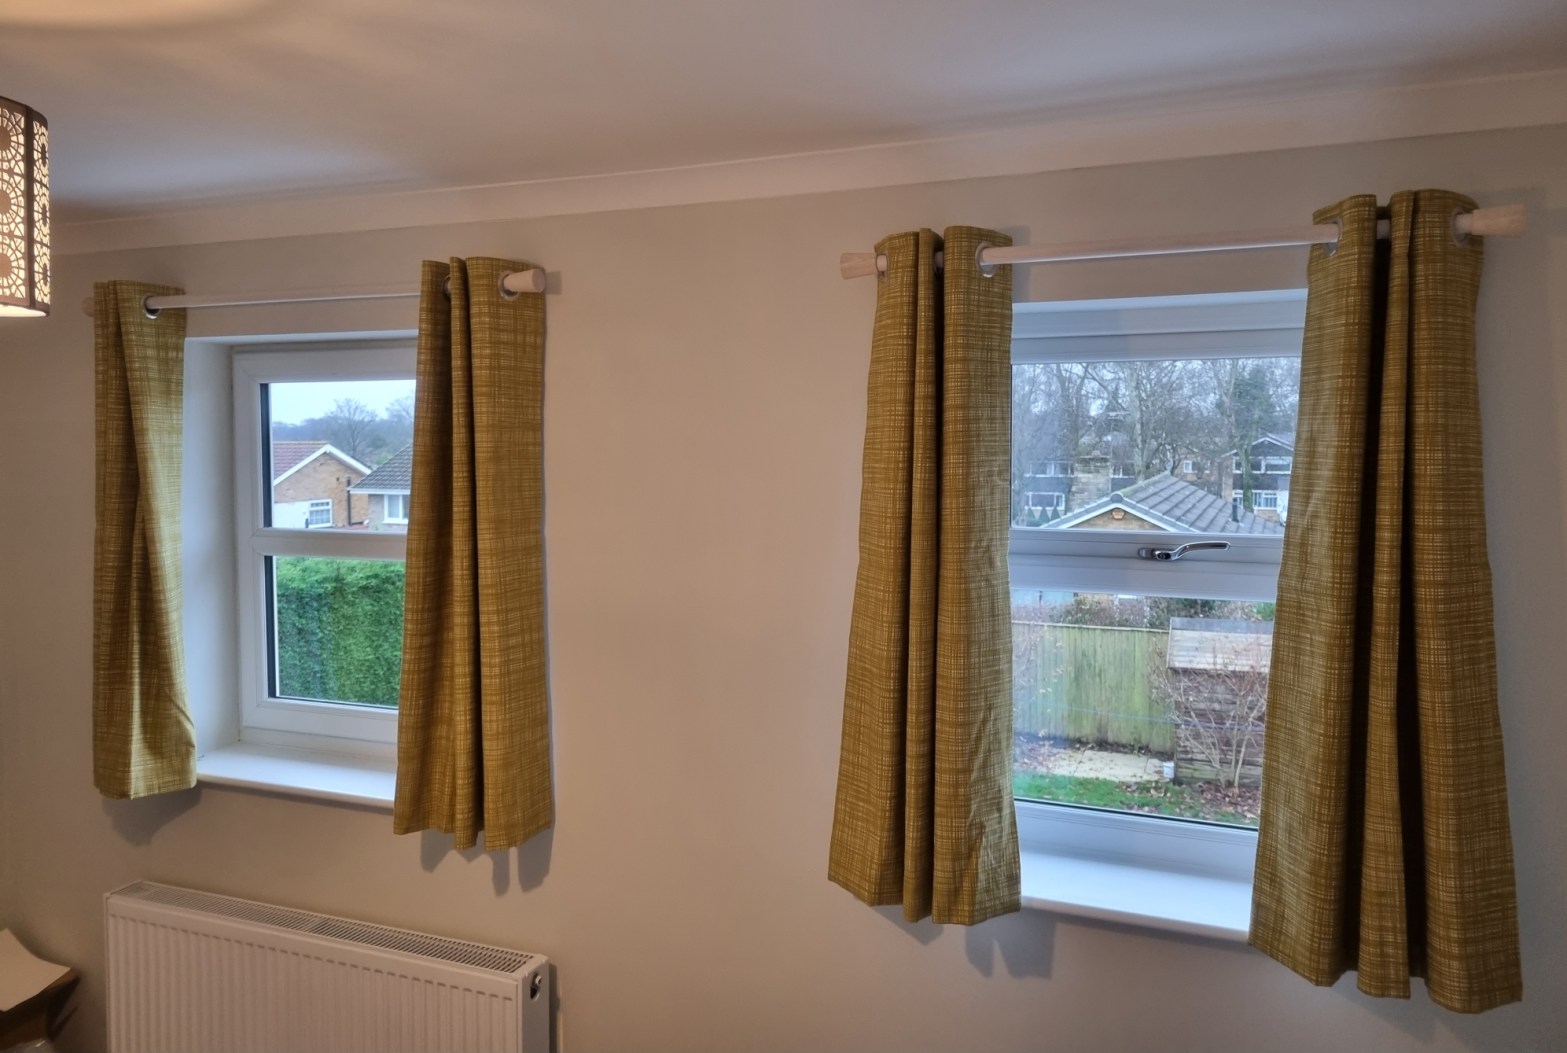
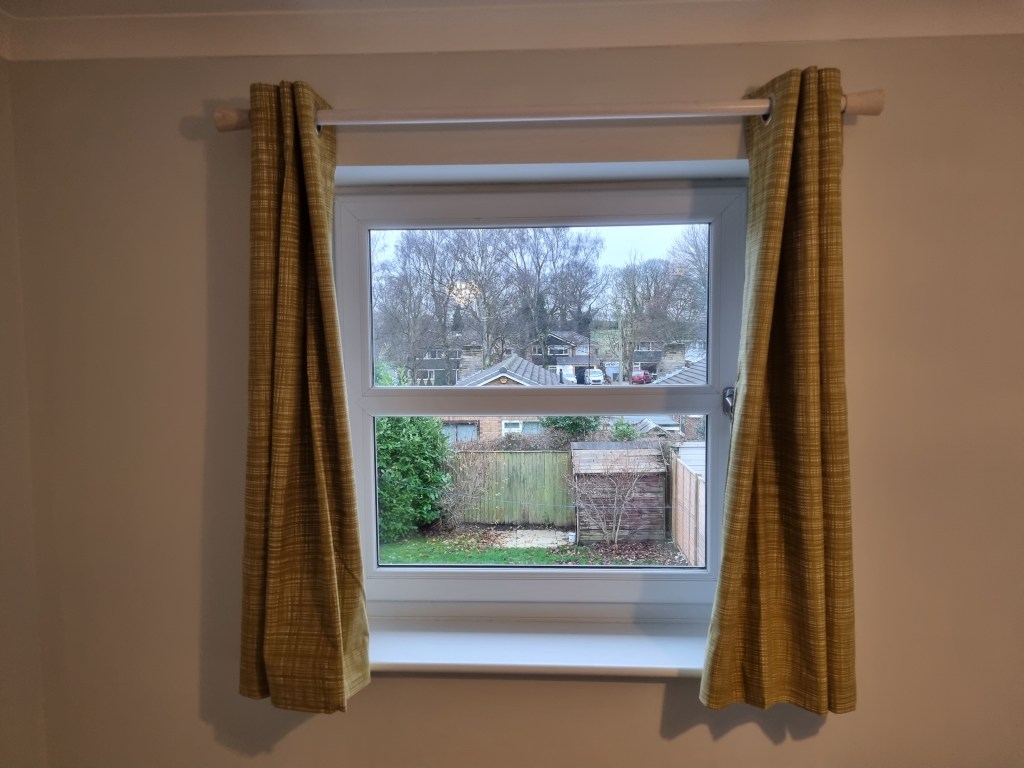
So, we have all the tools, drills and fittings ready, let’s rock this! First, you want to set the height where you will fit your blinds/curtains. Check the curtains in the other rooms, measure down from ceiling and you have your height. Simple. When you measure try to measure down to the actual fitting, not just the curtain itself otherwise you might end up with a different height at the end. Also when fitting curtains make sure they won’t be too long or short from floor/window sill. Once you have your height, mark the centre of the window. Now you have a centre position on the right height. Measure how far apart the fittings have to be for the curtain pole (it should say this on the fitting instructions), half this number, and mark it on the wall either side from the centre point. That’s it, you have a mark for your curtain pole brackets!

Now the drilling: if you can change settings, start your drill slowly on non-masonry setup to mark the wall with your drill bit. Once you drilled a couple of millimetres into the wall, change the settings to masonry and fire away. Note: very unlikely that when you are fitting a blind or curtain you would need to worry about electric cables/pipes in the wall, but always check with a cable finder the area that you about to drill into. Safety first!

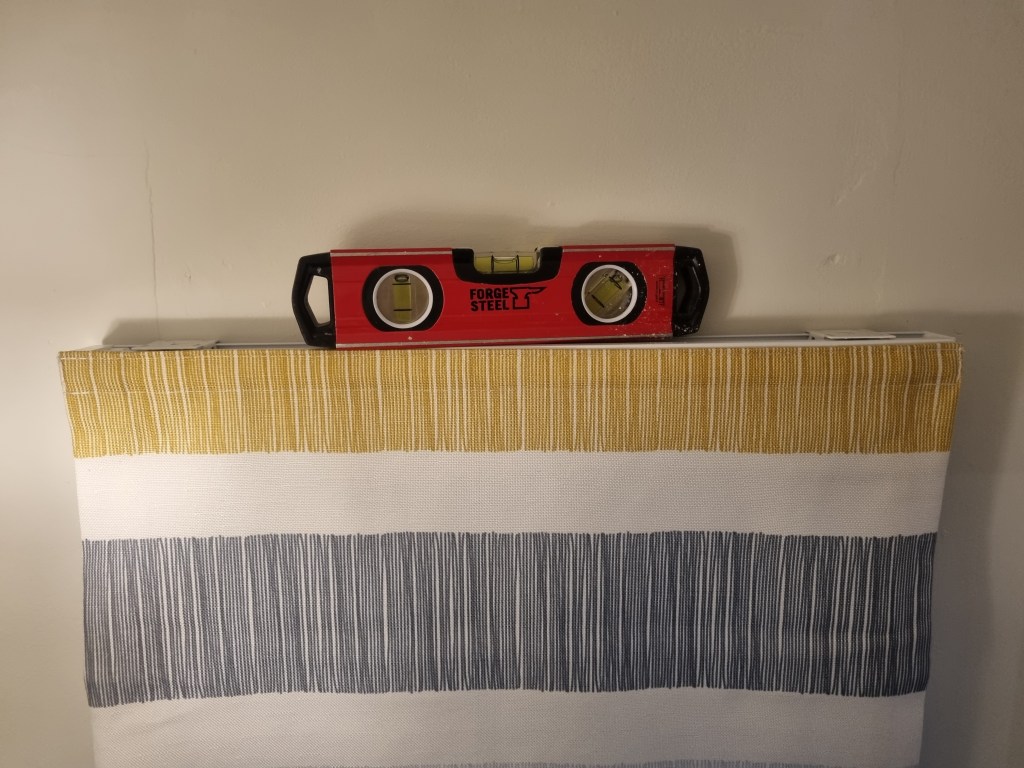
Before you drill hole(s) for the second curtain pole bracket, check the level again. Screw your first bracket up to its final position, hold your level on the top and make sure that the second bracket is marked correctly. When you drill and fix a bracket, the drill can move slightly. This means when you are drilling your second bracket and fitting the pole, it might be slightly off level. But if you check it again, you can correct your previous marking on the wall. Once you checked and you are happy with your marking, fire away and fix the second bracket as well.
Now the easy bit. Tidy the dust away from the wall and underneath. I normally use wet wipes for this purpose as they hold the fine dust well and you can wipe clean the surfaces. Tidy all your tools you don’t need any more as they can be in your way causing trouble as you move around with the curtains. Fix the poles, the curtains and that’s it. You are done. Step back, enjoy the view and collect the compliments.
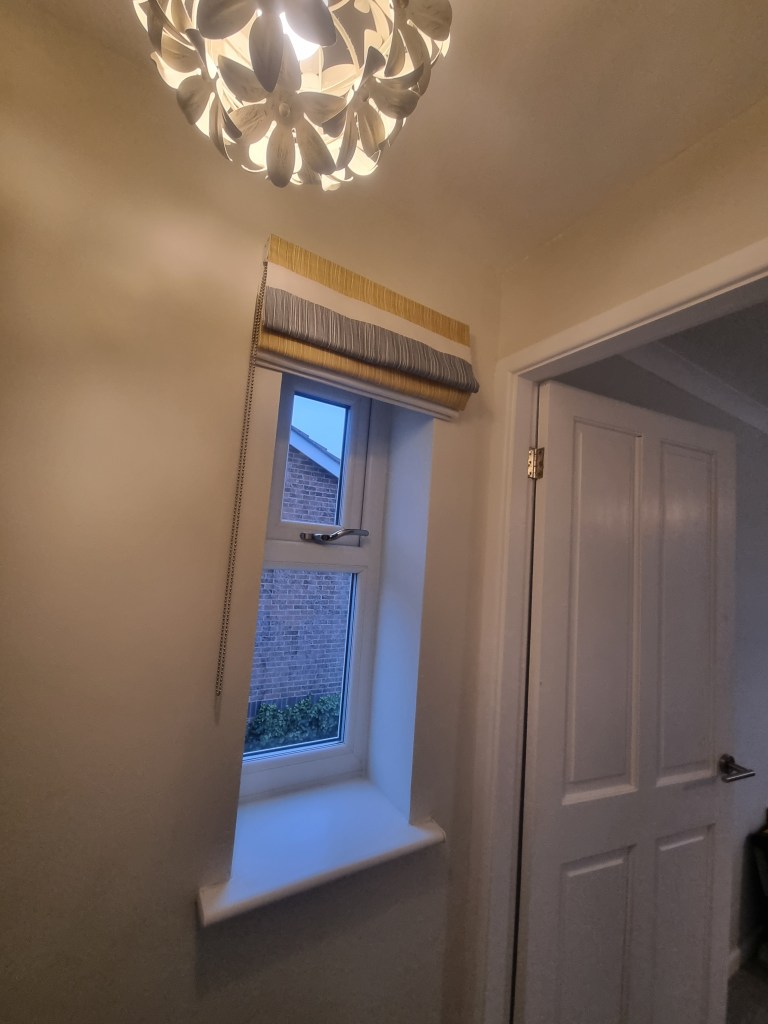
Blinds are pretty much the same process, the main difference is that they have different brackets. Sometimes you are lucky and these brackets can be slightly adjusted left/right and up/down which means it’s lot easier to get them level and centre even if your drill holes are not perfect. Plan, measure, mark, drill, fix, clean up and done. It’s not that complicated really, but always make sure to take your time, check twice your measurements and if you are about to get frustrated just stop, step away and have five.
I hope this was helpful and gave you a bit of courage to give this a go yourself. If you are still in doubt, there are thousands of video tutorials on YouTube as well. And if you are still not sure about this or just can’t be asked to deal with things like this, you can always ask someone to help you 🙂
